
D o you want to learn how to use 'Yes or No' email popups on your blog? If you do, then you’ve come to the right place.
Email popups are incredibly useful assets on their own but when you combine them with ‘Yes or No’ optins, they can really pack a punch!
‘Yes or No’ email popups have been known to grow your email list and boost conversions, and there are many creative ways you can use them.
It doesn’t matter if you’ve just started a blog or if you’re a seasoned blogger. If you’re not using Yes/No optins in your email popups, you’re missing out on an easy opportunity to generate email leads.
In this article, we will discuss how to set up Yes/No email popups and share some creative ways you can use them to grow your email list.
So without further ado, let’s dive in!
In This Guide:
Why Use Yes/No Email Popups?
To clarify, Yes/No popups don’t necessarily have to be “Yes” and “No.” The concept is that you give users two buttons. One is for them to opt-in, and the other is for them to opt-out.
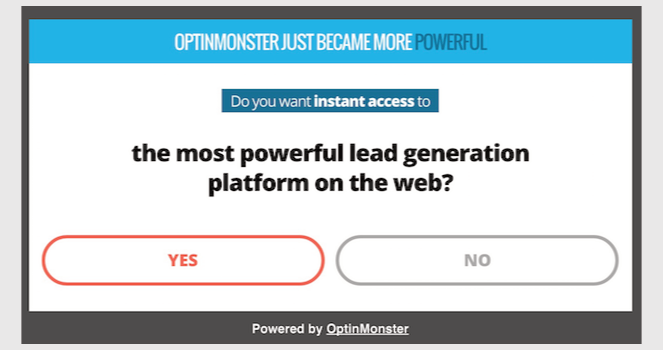
Most people would think, why would I give my visitors the option to opt-out? Wouldn’t this lower our chances of conversion?
On the contrary, these popups convert really well. As per OptinMonster, 2-step optins can boost conversions by 785%.
Why? Because of the Zeigarnik Effect.
The Zeigarnik Effect states that people are more likely to finish a process once they start it.
You don’t ask for their email address unless they click on one of the buttons. And once they start the process, they are more likely to enter their email address and finish the process.
When given a choice, the visitors tend to respond with more positivity. This results in more optins.
Now that you know why ‘Yes or No’ email popups work so well, let’s go over how you can create them.
How to Set Up Yes/No Optin Campaigns
To set up Yes/No popup campaigns on your blog, you won’t have to look any further than OptinMonster.
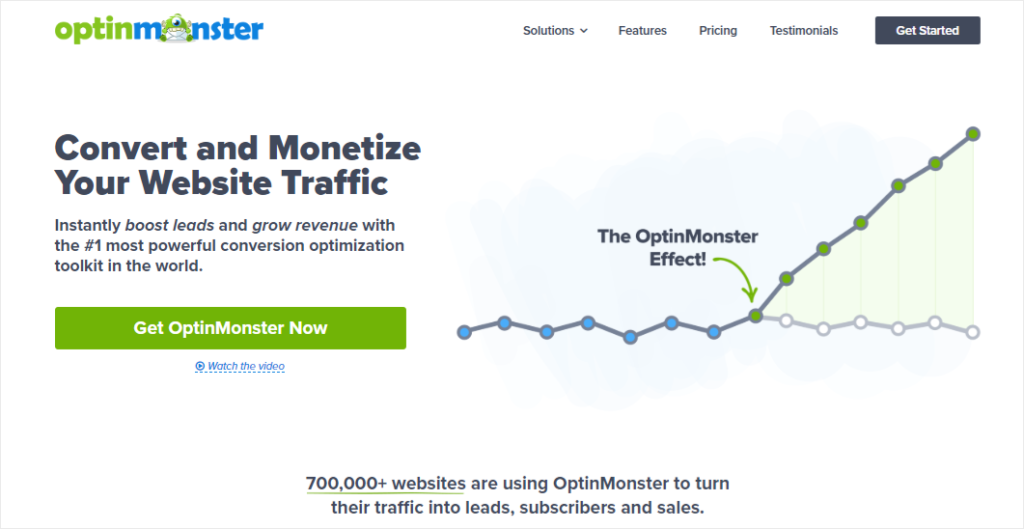
OptinMonster is the best lead generation tool that is easy to use and very affordable. It helps you convert website visitors into customers and subscribers. With OptinMonster, you can create visually appealing popups, slide-in forms, countdown timers, and much more.
This section will teach you how to create a Yes/No email popup with OptinMonster.
Step 1: Install and Activate OptinMonster
First, you need to sign up for OptinMonster’s Pro plan. You won’t be able to create a Yes/No campaign without one.
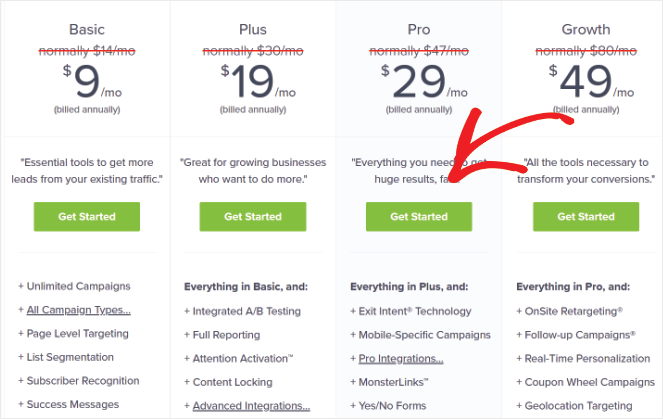
Once you have subscribed to their Pro plan or higher, go to your WordPress dashboard and install and activate OptinMonster.
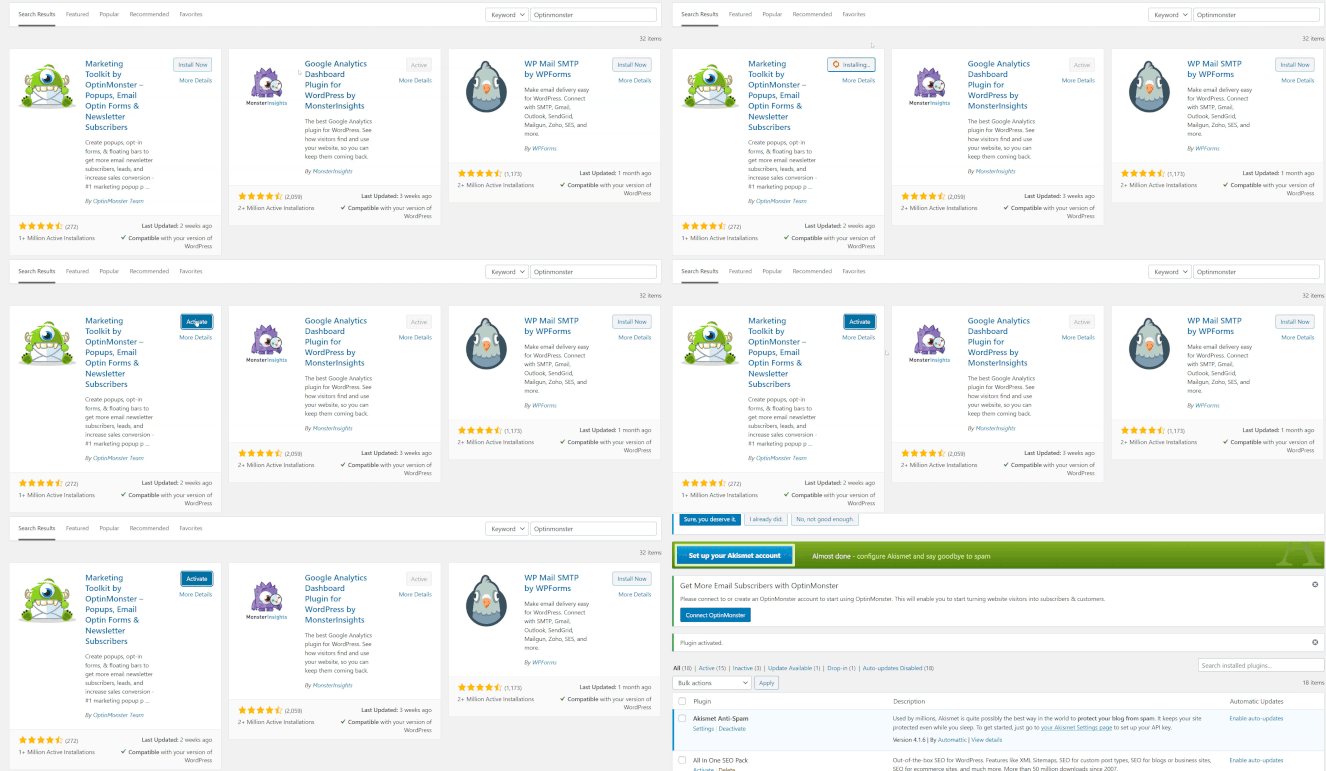
Check out our post on how to install a WordPress plugin, for step-by-step instructions.
Once you have activated the OptinMonster plugin, you will land on the welcome screen. Then click on Connect your Account.

Follow the prompts on the next screen to authorize the OptinMonster plugin with your OptinMonster account.
Now that you have installed and activated the OptinMonster plugin, it’s time to create the campaign.
Step 2: Create a New Campaign
On your WordPress dashboard, go to OptinMonster » Campaigns. Then, click on Create New Campaign.

You will then be taken to the OptinMonster app. Once you’re there, you can choose any campaign type you want.
For this guide, we’ll be using the popup.

On the next screen, choose the template you want to use.
We’ll be using the Split template.

You will then be asked to choose a name for your campaign and select the website you want to show it on.
Once you do that, click on the Start Building button.
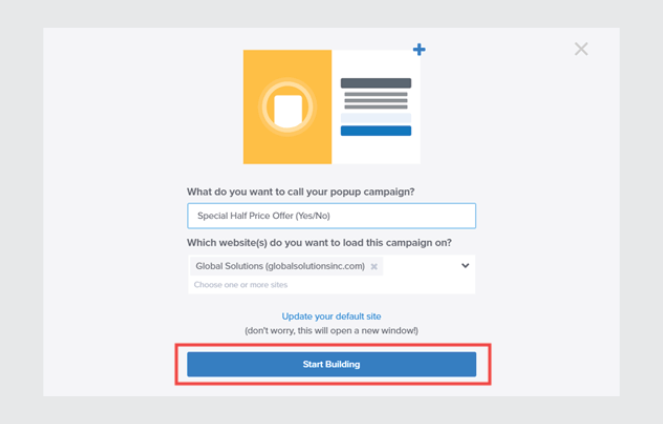
After you’ve clicked on the button, you will be taken to the campaign editor.
Step 3: Enable Yes/No for Your Campaign
To create the Yes/No campaign, click on the Yes/No tab and then click on Enable Yes/No for this campaign.
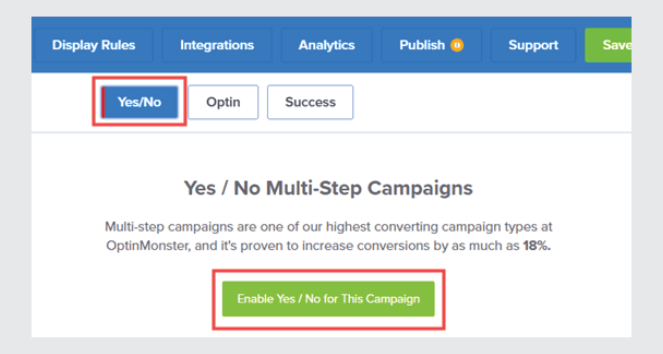
Once you’ve clicked, your optin campaign will have a main Yes button and a No Thanks option.
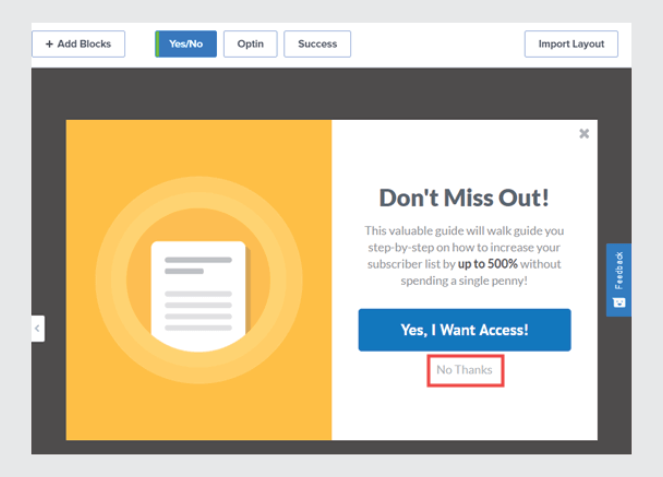
You can now make all the edits you want. You can change the copy, add an image, edit the text of your CTA (call-to-action), set the display rules, and change the colors if you like.
Don’t forget to click on Save once you’re done editing your Yes/No campaign.

After editing your popup, choosing the display rules, and integrating the popup with your email service provider, now it’s time to take it live.
Step 4: Make Your Yes/No Campaign Live
Click on the publish button at the top right of your screen and then slide the Status slide to Live.
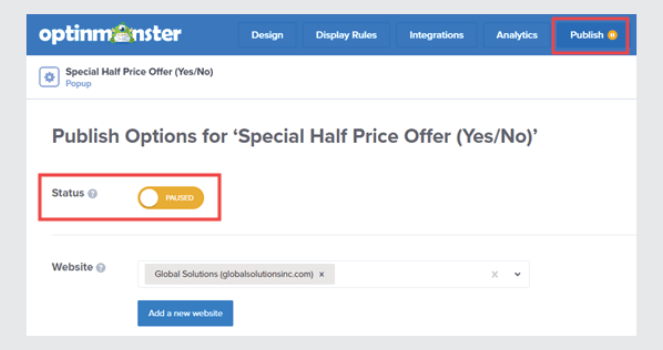
Make sure to check that your website is selected and connected in the area below the Status as well.
And you’re done! Your campaign is now live on your blog.
Now that you know how to set up a Yes/No campaign on your blog let’s talk about how you can creatively use it to boost your conversions.
How to Use ‘Yes or No’ Email Popups on Your Blog (8 Ways)
1. Offer a Simple Choice
We’ll kick off this list with the basics. With OptinMonster, you can easily create a simple Yes/No popup to increase your email signups or sales.
For example, you could have a simple copy in your popup that says, “Do you want to learn more about blogging? Sign Up to our newsletter, and we’ll send you the best blogging tips straight to your inbox.”
Your “Yes” button could have the text “Sign me up!” and your “No” button could say, “Not today.”
Here’s an example of a simple ‘Yes or No’ popup used to boost sales. The popup offers a discount to encourage users to buy. The ‘Yes’ button says “Apply Discount” and the ‘No’ button says “No thanks.”
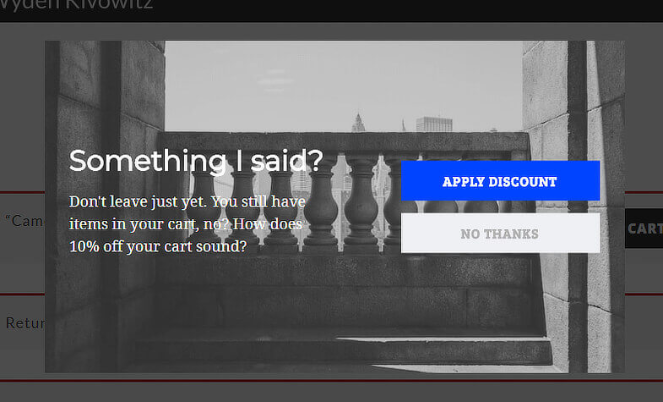
You can use different copy and design to make it more interesting.
A simple ‘Yes or No’ email campaign works great at boosting email subscribers or increasing sales.
2. Answer Customer Service Questions
You can also use Yes/No email popups to help your visitors by answering any questions they may have about your blog or product.
For example, your visitors might be having a hard time deciding whether they should buy your product or not. You can help them out with a Yes/No popup with a contact form.
Here is an example:
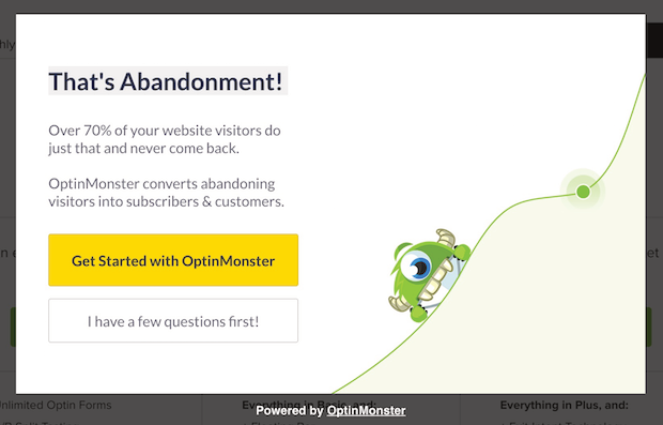
If you click on the yellow button, it will take you to the pricing page, but if you click on the “I have a few questions first!” button, it will take you to a contact form.
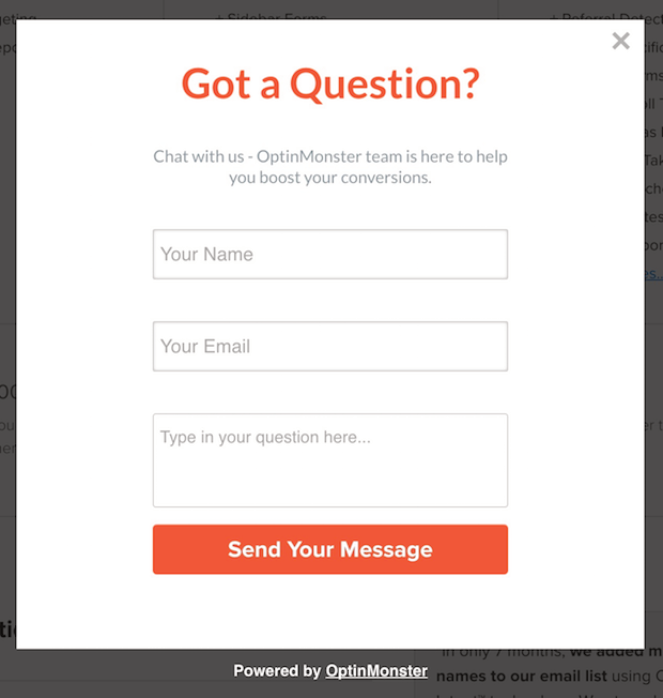
If your website visitors could talk to your sales representative and get their questions answered, they might decide to buy your product.
3. Educate Your Visitors
There are cases when the visitor on your site is new to your brand. Naturally, someone who doesn’t know about anything about your brand wouldn’t sign up for your email newsletter.
The best course of action is to let them consume more of your content and learn more about you. This could warm your visitors up to sign up for your newsletter.
You could use the Yes/No email popup to send your visitors to your blog or have them download your product guide when they click on the “Yes” button, like in the example below.
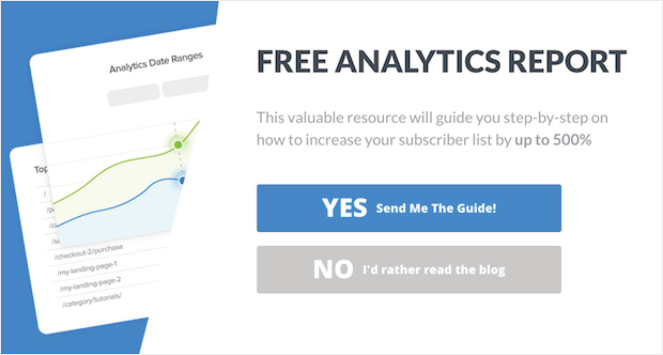
Some might opt-in right away, but for people who are new to your brand, they might want to look around more.
4. Give Your Visitors a Content Upgrade
A content upgrade is a lead magnet specifically related to the blog post your visitors are reading.
For example, if they are reading a food recipe on your food blog, you could offer a printable grocery list.
Content upgrades are great lead magnets and can lead to a lot of signups. However, some visitors might want to read the whole blog before deciding to get the content upgrade.
For such visitors, you could show them a timed Yes/No popup. Visitors will only be shown this popup if they have spent a certain amount of time reading your blog.
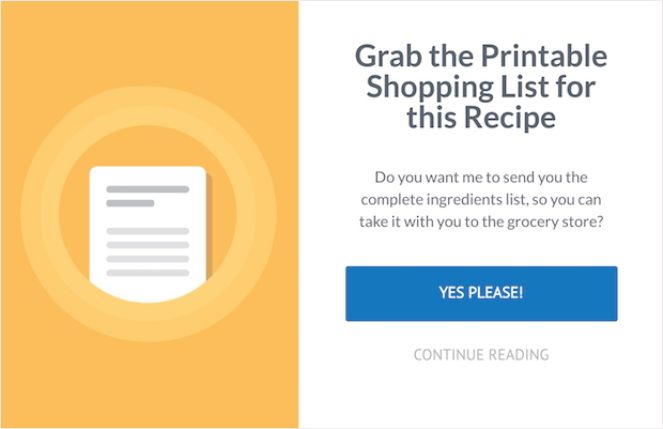
The “Yes” button offers the content upgrade, whereas the “No” option will allow them to keep reading the blog post.
5. Offer Different Options
Sometimes offering up two different lead magnets may entice readers enough to opt-in.
For example, you can show an option that links to a live demo and show an option that takes them to a slideshow of information.
Take a look at the example below:
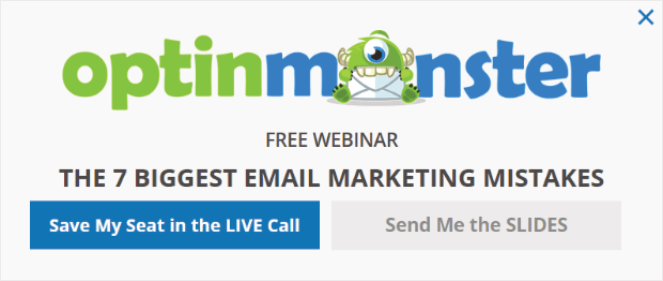
This method is effective because different visitors have different preferences. Some might be more comfortable reading about your product while others might want to talk to a live person.
Presenting both options to your visitors helps you target them more effectively.
6. Increase Your Affiliate Sales
You can boost your affiliate sales conversions on your affiliate marketing blog with a Yes/No email popup too.
To do that, you can show your visitors a popup when they are trying to exit your blog. You could show them something like this:
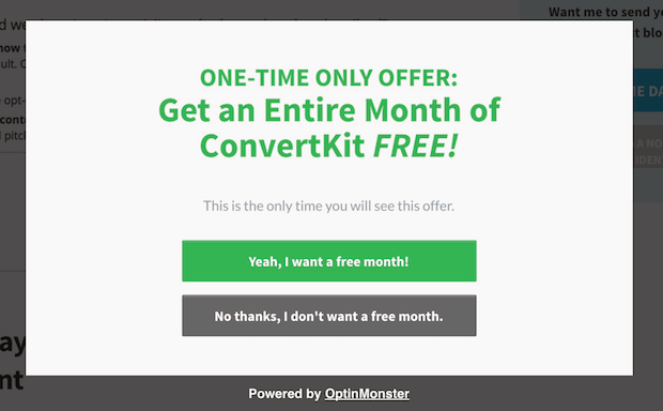
The “Yes” button will take the visitor to the affiliate page, and the “No” button will close the opt-in form.
This is a great way to promote your best affiliate deals and boost your revenue.
7. Create a Welcome Gate For Your Visitors
Welcome gates or splash pages are a full-screen page that shows up before the visitors can see any content. Bloggers use it to grab attention and build their email lists. Sounds cool, right?
But there is a catch.
Splash pages can make it very difficult for users to navigate your website and might even hurt your blog SEO.
However, with OptinMonster’s Yes/No email popups, you can avoid the negative impact. When a visitor lands on your homepage, they will see a welcome gate that looks like this:
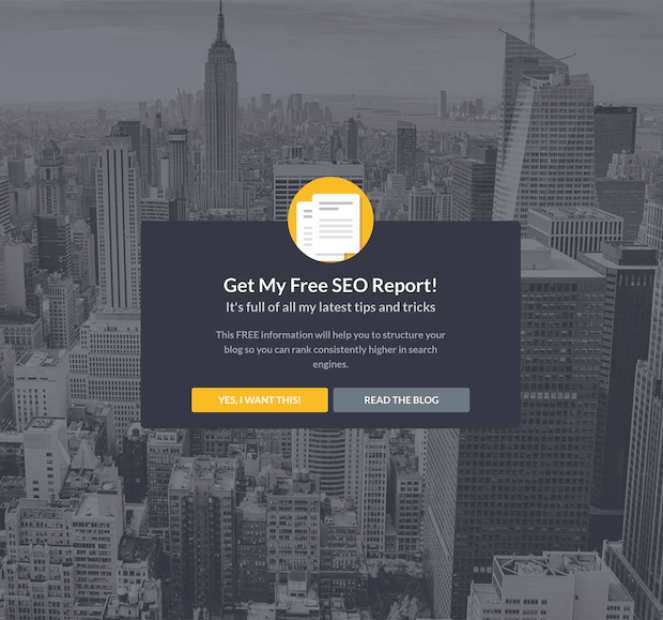
Unlike a normal homepage with tons of navigational options, your welcome page has reduced it to two choices. They can either provide their email address or continue reading your blog. Reducing it to 2 choices will increase your chances of conversions.
8. Segment Visitors
With OptinMonster’s Yes/No email popups, you can easily segment users based on their preferences.
SnackNation used this ‘Yes or No’ email popup to segment their leads:
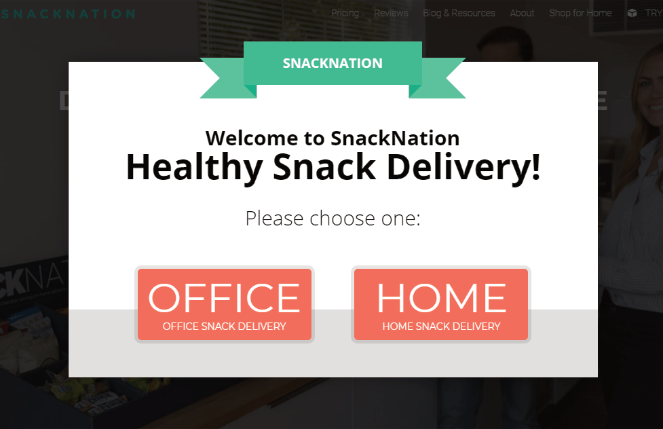
They segment their users into two different groups—users who are ordering for their office and users who are ordering for their home.
This helps users move quickly towards the option that fits their needs. This high-level targeting leads to a considerable boost in conversions.
You can also adapt the same tactic for your blog and convert 31.85% abandoning visitors. You can read more about this in this case study.
And bloggers can take advantage of this strategy to find out what their readers like so that they can send more relevant content.
For example, a blogger who writes about how to start a YouTube channel and also about how to start a podcast can use this optin to ask which platform their visitors are interested in. Bloggers can then use this data to segment their audience and show them content about the platform they prefer.
Well, there you have it!
We hope you enjoyed our guide on how to set up and use ‘Yes or No’ email popups to creatively grow your email list and boost your conversions.
Now, it’s your turn to try. If you have a cool way of using Yes/No optins, let us know in the comments. We’d love to hear about it!
If you enjoyed this article, then do check out our post of 9 Inspiring pop-up examples for more.
And don’t forget to subscribe to our newsletter for more blogging tips.


This is an informative post. Got a lot of info and details from here. Thank you for sharing this and looking forward to reading more of your post.