
A re you wondering how to create WordPress ‘click to tweet’ boxes? In this tutorial, we’ll show you how to add click to tweet boxes in your blog posts, step-by-step.
There are many ways to boost engagement on your WordPress blog. One easy way is by adding ‘click to tweet’ buttons in your blog posts.
This allows your readers to share quotes from your articles on Twitter with one click.
So, how do you add a WordPress click to tweet box?
Simply follow this tutorial to quickly set up click to tweet buttons on your blog.
In This Guide:
Why ‘Add Click to Tweet’ in WordPress?
Before diving into the tutorial, let’s take a look at the benefits of adding click to tweet boxes to your WordPress posts and pages.
- Drive Traffic to Your Blog – By having readers share your quotes on Twitter, you can introduce new people to your content and drive more traffic to your blog.
- Increase Social Shares – With more people tweeting about you and your blog, you can grow your social media presence and increase your following.
- Boost Blog Engagement – Adding click to tweet buttons can increase the amount of time users spend on your pages, which can help improve blog SEO. Plus, the longer visitors spend on your blog, the more likely they are to sign up for your email list or buy a product.
Now that you know how tweet boxes can help you grow your blog, we’ll show you how to set them up…
How to Add ‘Click to Tweet’ Boxes in WordPress (Step by Step)
The easiest way to add a WordPress click to tweet feature to your blog is with Better Click to Tweet.
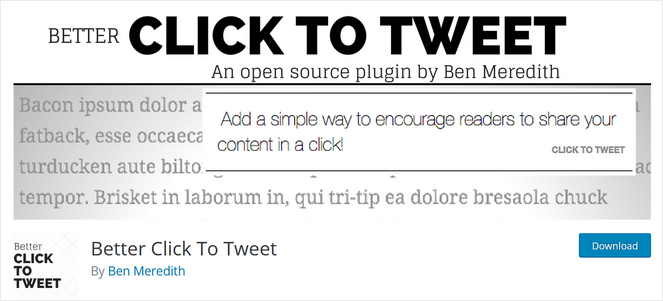
Better Click to Tweet is a free WordPress plugin that lets you create tweetable content for your readers using a simple shortcode or Gutenberg block. It’s the most popular click to tweet plugin with over 10,000 active installations.
Step 1: Installing and Activating the Better Click to Tweet Plugin
To get started, the first thing you need to is install and activate the Better Click to Tweet plugin.
For step by step instructions, follow our tutorial on how to install a WordPress plugin.
Once the plugin is installed and activated, it will automatically bring you to the simple setup wizard.

In the first step, scroll down the page and enter your Twitter handle into the field provided.
This will be used inside of the tweets that your readers share like this ‘via blogtyrant.’
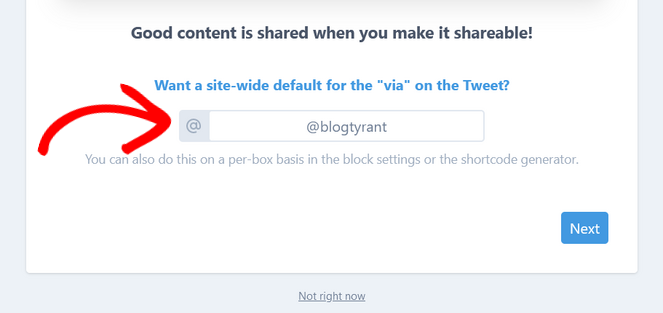
Not only will this tell Twitter users where the original content comes from, but it will also help you find the tweets about your blog easier.
After entering your Twitter handle, click the Next button to continue.
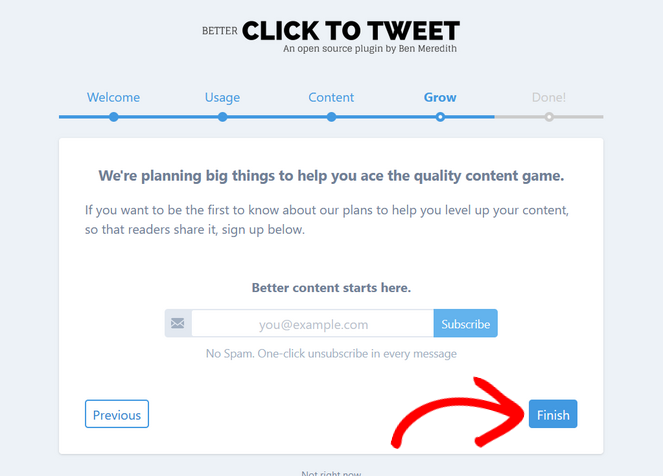
In the next few steps, you’ll see some information about the plugin that you can read through and you’ll have the option to subscribe to the newsletter. After that, click the Finish button.
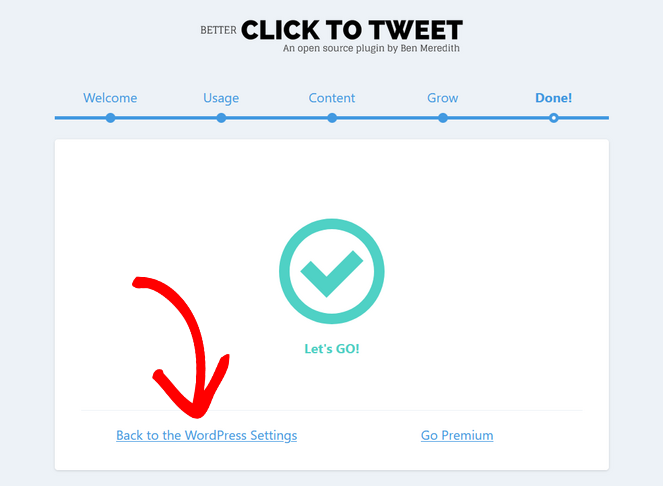
Now, you’ll see a success message and you can click the Back to the WordPress Settings link to finish configuring the plugin.
Step 2: Configuring the Plugin’s Settings
On the ‘Settings’ page, you have additional options for configuring the plugin.
If you want to use your own custom short URL, then you can check the box next to the ‘Use Short URL?’ option. You can read this guide to learn how to create a customized short URL for your blog.
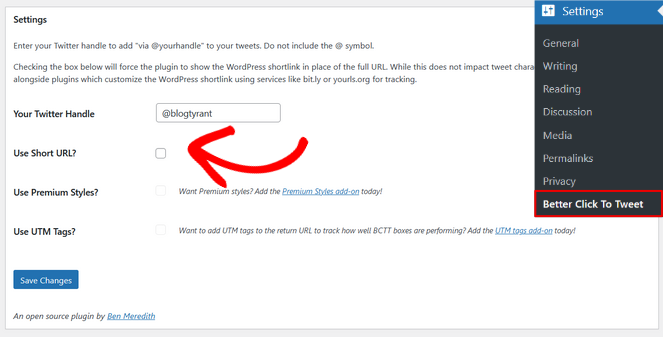
You can also enable Better Click to Tweet’s premium styles. This is a paid add-on that allows you to restyle your click to tweet boxes, no coding required.
Lastly, you can enable the UTM tags premium add-on to track how well your click to tweet boxes are performing.
Don’t forget to click the Save Changes button when you’re finished.
Step 3: Adding the Click to Tweet Box in WordPress Posts
Now that the plugin is all set up, you can start adding click to tweet boxes in your blog posts.
From your WordPress dashboard, create a new post or edit an existing one.
In the WordPress block editor (Gutenberg), click on the + block inserter button in the top left corner of the screen and search for the Better Click to Tweet block.
Then, simply click on the block to automatically insert it into your WordPress post.
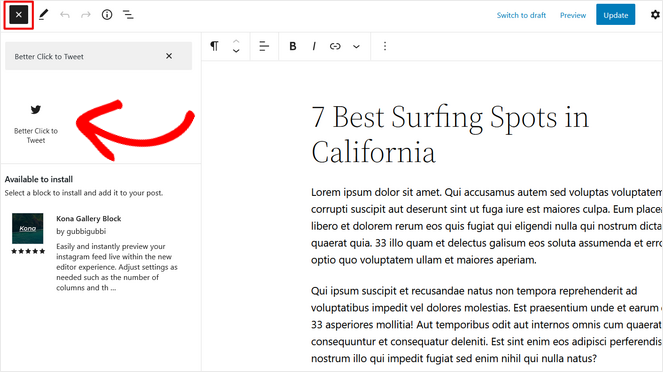
When the tweet box is added, the plugin will automatically pull the title of your blog post as the text for the tweetable quote.
But, you can edit the tweetable quote by clicking on the box and typing whatever phrase or quote you want.
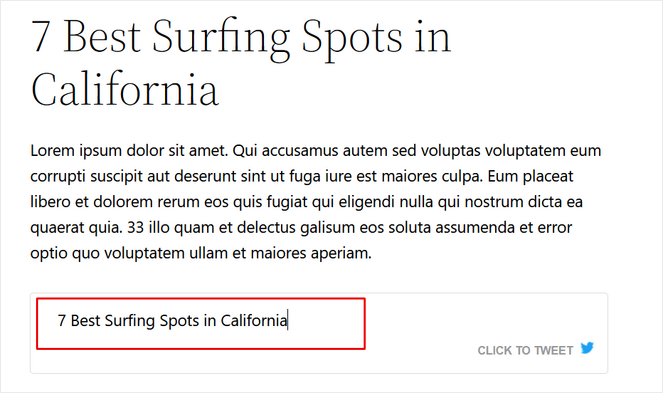
Once you’re ready, go ahead and publish or update your post.
Here’s how the click to tweet box will look on your website:
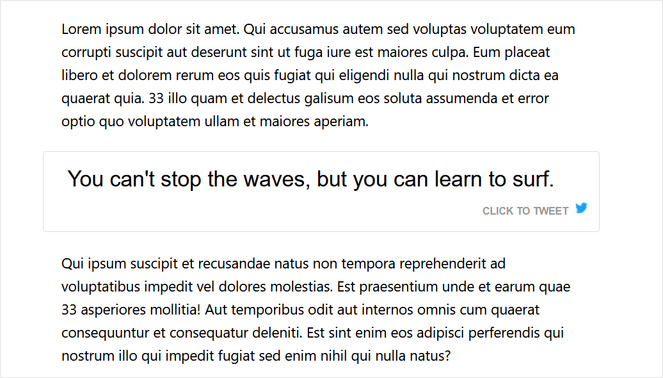
When a reader clicks to share your quote, the plugin will automatically add your Twitter handle and a link back to your post in the tweet.
If you want to insert the click to tweet box using shortcode, you can format your shortcode like this:
[bctt tweet="Meaningful, tweetable quote."]
That’s it!
You can now repeat this process to add additional click to tweet boxes in your WordPress posts and pages.
Bonus: Adding a Twitter Feed in WordPress
If you’re looking for another way to integrate your blog with Twitter, we recommend embedding a Twitter feed with the Smash Balloon plugin.

With Smash Balloon’s Twitter Feed Pro plugin, you can easily add a beautiful, interactive Twitter feed to your blog.
Visitors can retweet, like, and reply to your tweets without leaving your website, which will help you boost engagement and grow your social media presence.
You can display as many feeds as you like, choose from multiple feed types and layouts, and you can customize the feeds to match your brand.
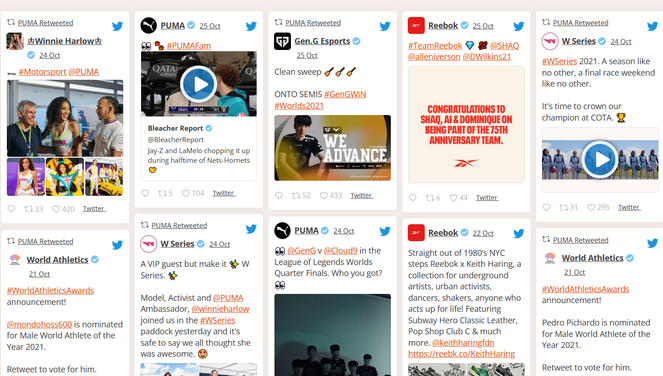
Plus, this plugin posts new Twitter content on your blog automatically. So, your website will always be up-to-date with the latest tweets.
For step by step instructions, follow our tutorial on how to embed tweets in WordPress.
That’s a wrap!
We hope this article helped you learn all about WordPress click to tweet boxes and how they can help you grow your blog.
If you enjoyed this post, you should also check out our list of the best Instagram plugins for WordPress. You’ll find the top tools you can use to connect your blog to Instagram.
And don’t forget to sign up for our email newsletter so you can get useful content like this sent right to your inbox!


i like this kind of sites
nice
thankyou so much for sharing.
Nice blog! Thank you for sharing an amazing blog.